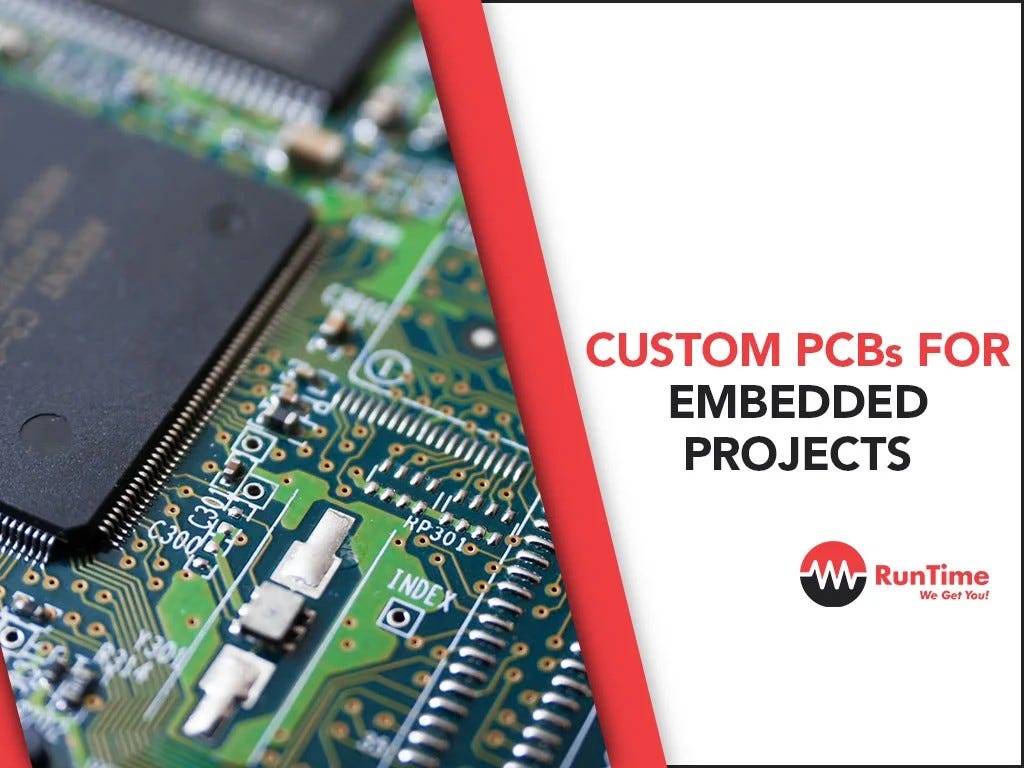
Understanding the Need for Customization
Off-the-shelf development boards like Arduino, Raspberry Pi, and STM32 Discovery boards have undoubtedly revolutionized the world of embedded systems development. They provide an excellent starting point for countless projects, thanks to their user-friendly interfaces and extensive community support. However, these boards are inherently limited in terms of flexibility and hardware features.
When your project requires specific sensors, communication protocols, or processing capabilities that aren’t readily available on commercial boards, customization becomes essential. Building a custom embedded systems development board allows you to tailor every aspect of the hardware to your project’s requirements. Whether you’re working on a unique IoT device, an advanced robotics project, or a specialized industrial application, a custom board can be the key to success.
The Journey Begins: Planning and Design
Creating a custom embedded systems development board is a multi-faceted process that starts with careful planning and design. Here are the crucial steps involved:
Project Definition: Begin by clearly defining your project’s objectives and requirements. Consider the specific sensors, actuators, communication interfaces, and processing power your project needs. Also, decide on factors like form factor, power consumption, and budget constraints.
Schematic Design: Once you have a clear project definition, create a schematic diagram for your board. This diagram outlines the connections between various components, ensuring that everything is wired correctly. Popular schematic design tools include Eagle, KiCad, and Altium Designer.
Component Selection: Carefully select the components for your board, keeping in mind factors like availability, cost, and power requirements. Consider using microcontrollers or microprocessors from trusted manufacturers like Microchip, STMicroelectronics, or Texas Instruments.
PCB Layout: The next step is designing the physical layout of your board using a PCB (Printed Circuit Board) design tool. This process involves arranging components on the board and routing traces to establish electrical connections. PCB design software like KiCad and Eagle are commonly used for this purpose.
Prototyping: Before sending your design for manufacturing, it’s wise to create a prototype to test your board’s functionality. This step helps identify and address any issues or design flaws early in the process.
Challenges and Considerations
Building a custom embedded systems development board isn’t without its challenges. Here are some common considerations:
Cost: Custom boards can be more expensive than off-the-shelf options, especially if you’re producing them in small quantities. Be prepared for potential cost overruns.
Manufacturing: Finding a reliable PCB manufacturer is crucial. You’ll need to decide between manufacturing the boards yourself (for small quantities) or outsourcing the production to a professional PCB fabrication service.
Testing and Debugging: Developing custom hardware may require more extensive testing and debugging efforts compared to using established development boards.
Documentation: Document your board’s design and usage thoroughly. This is essential for troubleshooting, maintenance, and sharing your creation with the community.
The Joy of Customization
Despite the challenges, building a custom embedded systems development board offers several significant advantages:
Tailored Performance: You can select components that precisely match your project’s requirements, ensuring optimal performance.
Form Factor: Customize the board’s size and shape to fit seamlessly into your project, whether it’s a small wearable device or a large industrial machine.
Control: You have complete control over the board’s features and interfaces, allowing you to add or remove components as needed.
Intellectual Property: You retain full ownership of your board’s design and can protect it as intellectual property if desired.
Community Contribution: Sharing your custom board design with the community can foster collaboration and innovation, potentially benefiting others in the field.
Conclusion: Bringing Your Ideas to Life
Building a custom embedded systems development board is an exciting journey that puts you in the driver’s seat of innovation. While it requires careful planning, design, and testing, the rewards are well worth the effort. Your custom board can empower you to tackle unique projects, explore uncharted territories, and turn your wildest embedded systems ideas into reality.
So, if you’ve ever felt constrained by the limitations of commercial development boards, consider taking the leap into the world of custom hardware. With determination, creativity, and a dash of technical expertise, you can create a board that not only meets but exceeds your expectations, unlocking a world of possibilities for your embedded systems projects. Happy building!


