Introduction
Linux is renowned for its stability, security, and vast ecosystem of software tools. It’s no wonder that many Windows users find themselves curious about the world of Linux. However, making the switch from Windows to Linux can be daunting. The good news is that you don’t have to choose one over the other. With the Windows Subsystem for Linux (WSL), you can seamlessly integrate Linux into your Windows environment. In this guide, we’ll explore what WSL is, how to set it up, and practical ways to use it to your advantage.
What Is Windows Subsystem for Linux (WSL)?
WSL is a compatibility layer for running Linux binary executables natively on Windows 10 and later versions. It provides a Linux kernel interface and a command-line environment, enabling you to run Linux distributions alongside your Windows installation. This means you can access Linux tools, execute Linux commands, and even run Linux graphical applications, all within your Windows operating system.
Setting Up WSL
Before diving into the exciting world of Linux on Windows, you need to set up WSL on your machine. The process is relatively straightforward, and we’ll guide you through it step by step.
Enabling WSL
Open PowerShell as an Administrator: To enable WSL, you’ll need to use PowerShell with administrative privileges. Press Win + X, then select “Windows PowerShell (Admin)” from the menu.
Enable WSL Feature: Run the following command to enable the WSL feature:
powershell
Copy code
wsl –install
This command will automatically enable the necessary features, such as the Virtual Machine Platform and Hyper-V. You may need to restart your computer at this point.
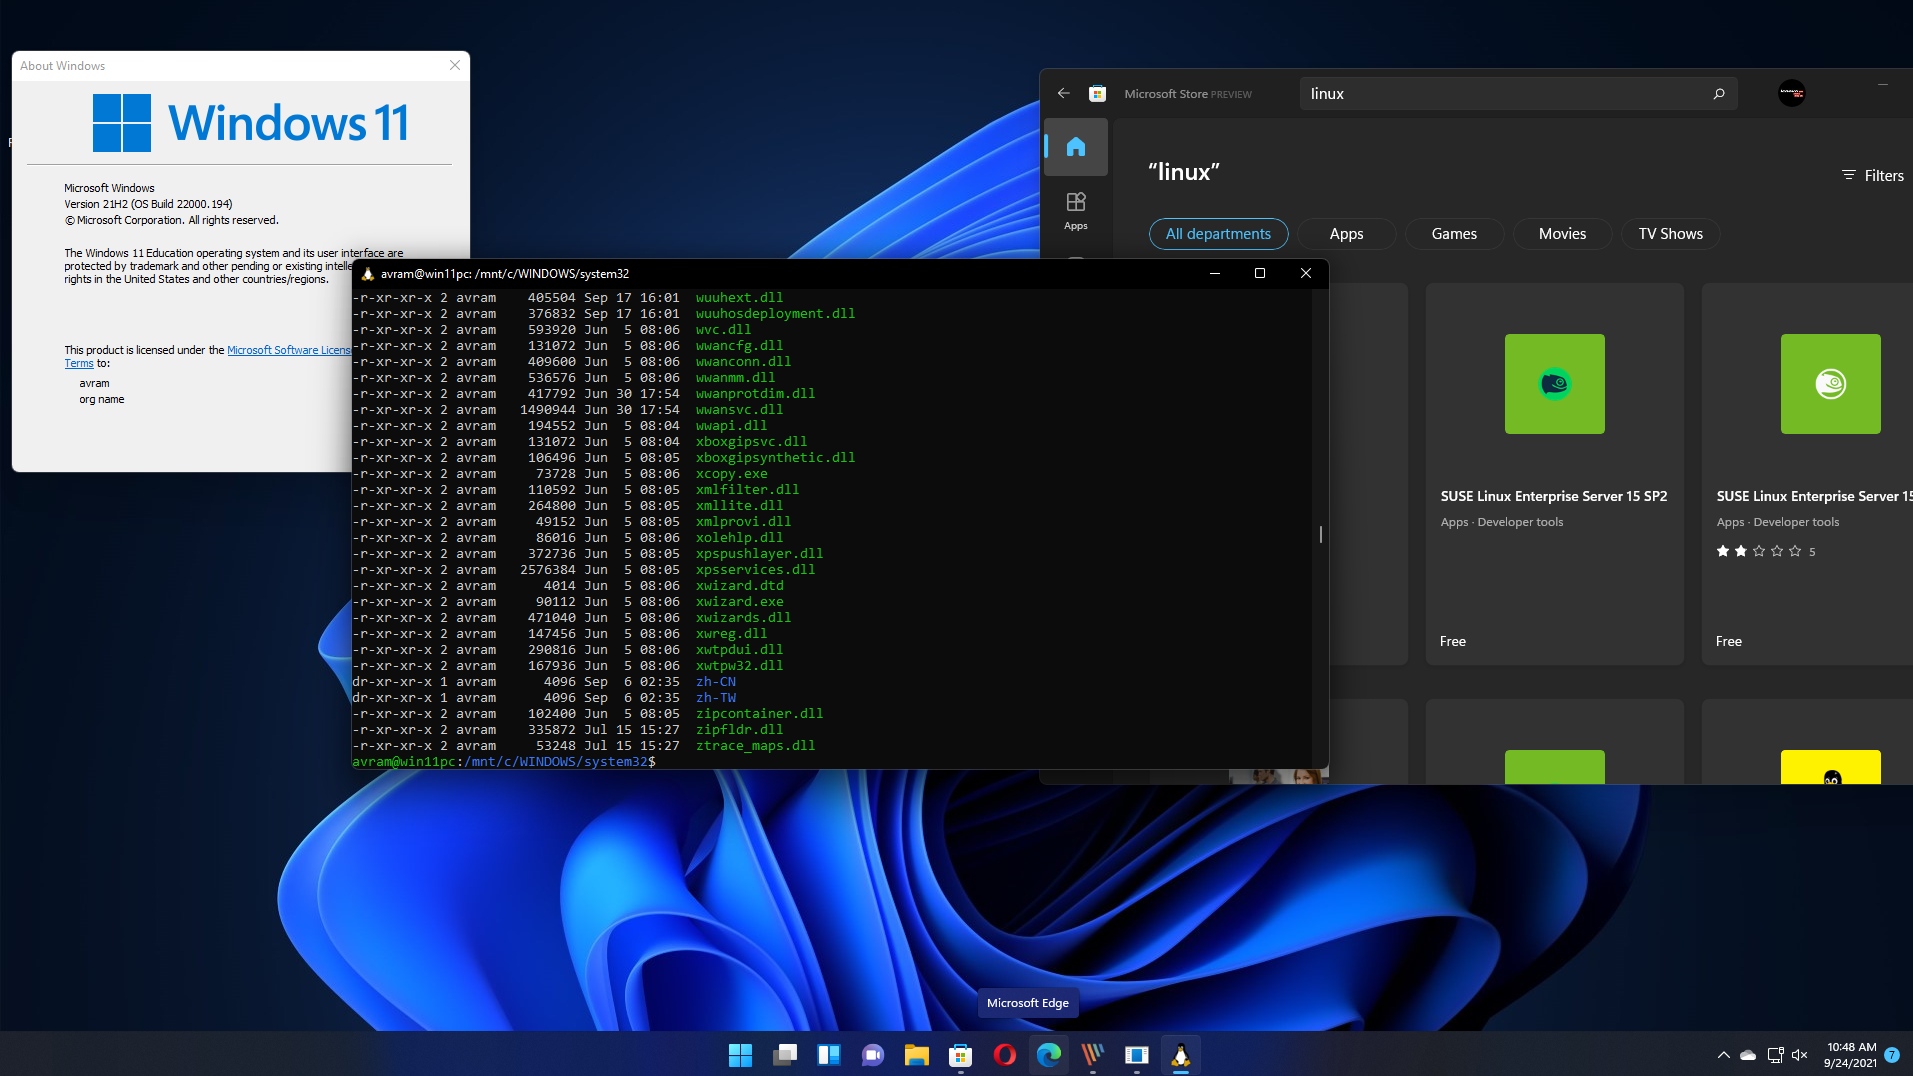
Choosing a Linux Distribution: After your computer reboots, open the Microsoft Store, search for “Linux,” and choose a Linux distribution to install. Popular options include Ubuntu, Debian, and Fedora.
Installing the Linux Distribution: Click on the Linux distribution of your choice, then click “Install.” The distribution will be downloaded and installed on your system.
Setting Up a User Account: After installation, launch the Linux distribution. You’ll be prompted to create a user account and set a password.
Now, you have Linux up and running on your Windows machine!
Practical Use Cases
- Development Environment
One of the most common use cases for WSL is creating a Linux-based development environment. Whether you’re a web developer, software engineer, or data scientist, you can leverage the power of Linux tools and libraries right within Windows.
Installing Programming Languages
WSL makes it easy to install and manage programming languages like Python, Ruby, and Node.js. You can use your Linux distribution’s package manager (e.g., apt for Ubuntu) to install these languages quickly.
bash
Copy code
sudo apt update
sudo apt install python3
- Running Linux-Exclusive Software
Some applications are Linux-exclusive but may be essential for your work or hobbies. With WSL, you can run these applications as if you were using a native Linux system.
Docker
Docker is a powerful tool for containerization and deployment. While it’s originally designed for Linux, you can run Docker containers within WSL seamlessly. This means you can develop and test your applications in a Linux container without leaving your Windows environment.
bash
Copy code
Install Docker within your WSL distribution
sudo apt install docker.io
- Shell Customization
Linux enthusiasts often appreciate the flexibility and customizability of their command-line environment. With WSL, you can tailor your shell to suit your needs, just like you would on a native Linux system.
Zsh and Oh-My-Zsh
Zsh is a popular alternative to the default Bash shell, offering numerous plugins and customization options. You can easily install and configure Zsh with the Oh-My-Zsh framework within your WSL environment.
bash
Copy code
Install Zsh and Oh-My-Zsh
sudo apt install zsh
sh -c “$(curl -fsSL https://raw.github.com/ohmyzsh/ohmyzsh/master/tools/install.sh)”
- File System Access
WSL provides convenient access to your Windows file system from the Linux environment. You can navigate your Windows files using the /mnt directory.
bash
Copy code
cd /mnt/c/Users/YourUsername/Documents
This integration allows you to work with your files seamlessly, regardless of whether they are stored in your Windows or Linux directories.
Tips and Tricks
Now that you’ve set up WSL and explored some practical use cases, here are a few tips and tricks to enhance your Linux-on-Windows experience:
- Keep Your Distributions Up to Date
Just like with a native Linux installation, it’s essential to keep your WSL distributions up to date. Regularly run the following commands to update your package list and upgrade installed packages:
bash
Copy code
sudo apt update
sudo apt upgrade
- Customize Your Shell Prompt
Make your command-line experience more personal and efficient by customizing your shell prompt. You can modify the prompt appearance and content to display information that matters most to you. - Backup Your Data
While WSL is stable, it’s always a good practice to back up your important data. Use Windows or third-party backup tools to create a safety net for your Linux distributions. - Learn Linux Commands
To make the most of WSL, familiarize yourself with Linux commands and their usage. You can find numerous online resources and tutorials to help you become proficient in Linux.
Conclusion
Windows Subsystem for Linux (WSL) is a remarkable solution that bridges the gap between the Windows and Linux worlds. It allows Windows users to access the power and flexibility of Linux without having to leave their familiar environment. From development to running Linux-exclusive software and customizing your shell, WSL offers a multitude of possibilities.
So, if you’ve been curious about Linux but hesitant to make the leap, give WSL a try. It’s a fantastic tool that opens up a world of possibilities for your Windows machine. Get started today and explore the best of both worlds!