Notifications have become an integral part of our daily lives, serving as a lifeline to stay updated, connected, and informed. Whether it’s a message from a loved one, a breaking news alert, or a reminder for your next meeting, iOS notifications keep us in the loop. However, too many notifications can quickly become overwhelming, disrupting your peace and productivity. This is why it’s essential to manage notifications effectively. In this guide, we’ll explore the intricacies of managing notifications on iOS devices, helping you strike a balance between staying informed and staying organized.
Understanding iOS Notifications
Before diving into the art of managing notifications, let’s start with a brief overview of how notifications work on iOS. Notifications on Apple devices have evolved over the years, providing users with more control and customization options. Here are the key elements to understand:
- Notification Center
The Notification Center is your go-to place for managing all your notifications on iOS. You can access it by swiping down from the top of your screen (or swiping up on older iPhones). In the Notification Center, you’ll find a chronological list of your notifications, which may include messages, emails, app updates, and more. - Lock Screen Notifications
Notifications can also appear on your device’s lock screen, allowing you to quickly view and interact with them without unlocking your phone. This feature is convenient but may compromise your privacy if not managed properly. - Banner Notifications
Banner notifications are temporary alerts that appear at the top of your screen, providing you with a brief glimpse of the notification’s content. They can be swiped away or tapped to open the associated app. - App Badges
App icons on your home screen can display red badges with numbers, indicating the number of unread notifications for that app. These badges are helpful for identifying apps that require your attention. - Sound and Vibration
iOS allows you to customize notification sounds and vibrations for different apps and types of notifications, helping you recognize them without checking your device. - Notification Groups
iOS organizes notifications into groups by app or topic, making it easier to manage them. You can expand or collapse these groups to see more or fewer details.
Now that we have a better understanding of how iOS notifications function let’s explore strategies for managing them effectively.
Strategies for Managing Notifications
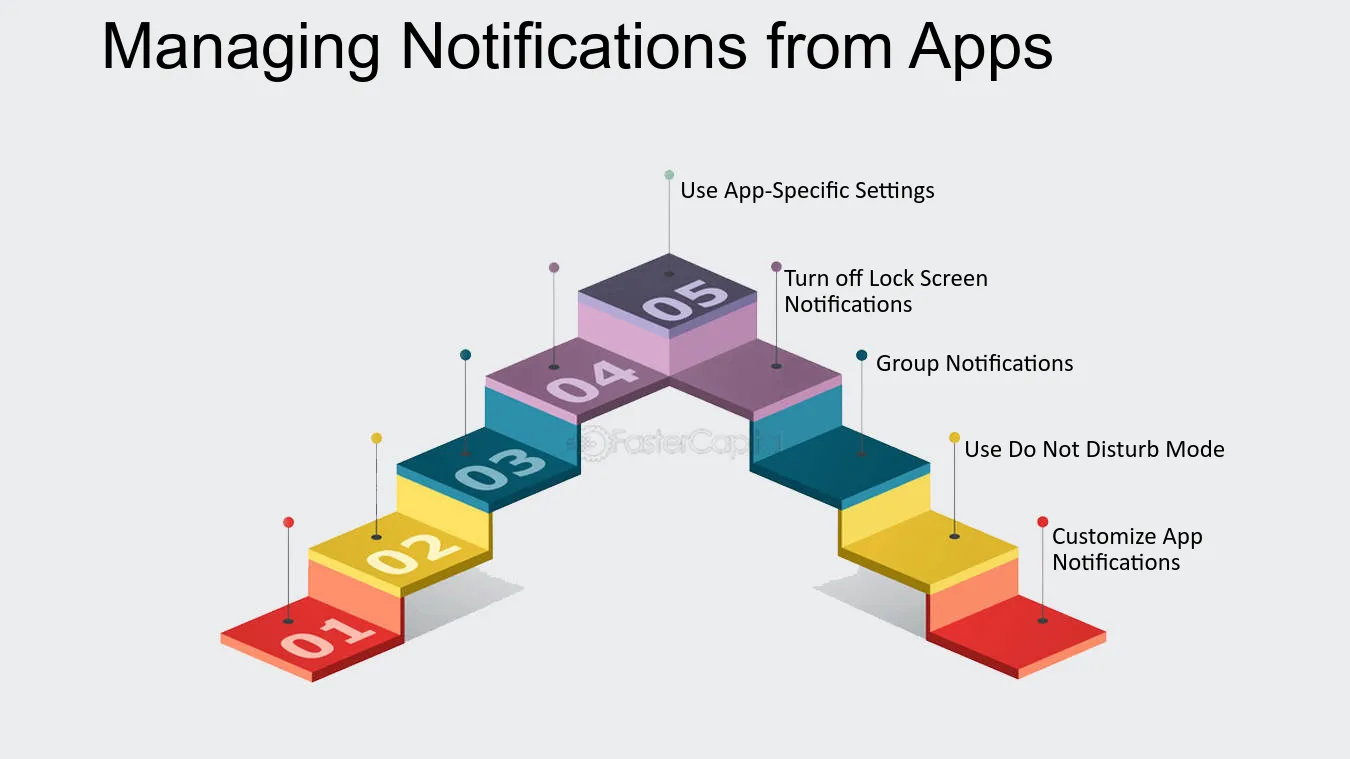
- Prioritize Your Notifications
Not all notifications are created equal. It’s crucial to prioritize which ones deserve your immediate attention and which can wait. Here are some tips for setting up your iOS notifications priorities:
Critical Notifications: Start by identifying notifications that are critical, such as messages from family, important work emails, and emergency alerts. Assign distinct sounds or vibrations to these to ensure you don’t miss them.
Social and Non-Critical: Social media and non-critical app notifications can often wait. Consider silencing them during specific hours, like during work or sleep, to minimize distractions.
Grouped Notifications: Take advantage of iOS’s grouped notifications feature. This helps you manage notifications from the same app or topic more efficiently. You can quickly dismiss or interact with the entire group.
- Use Do Not Disturb
iOS’s “Do Not Disturb” feature is a valuable tool for maintaining focus and peace. Here’s how you can make the most of it:
Scheduled DND: Set up scheduled “Do Not Disturb” periods. For instance, you can enable it during your sleeping hours to enjoy uninterrupted rest.
Allow Calls: You can configure DND to allow calls from specific contacts, ensuring that you won’t miss important calls while still silencing other notifications.
Driving Mode: If you’re on the road, enable “Do Not Disturb While Driving” to prevent distractions while driving.
- Manage Lock Screen Notifications
Lock screen notifications offer quick access to your recent alerts, but they can also expose sensitive information. Here’s how to manage them effectively:
Privacy: Protect your privacy by configuring your notifications to show content only when your device is unlocked. This way, your lock screen won’t display the content of your messages or emails.
Clear Notifications: Regularly clear notifications from your lock screen to keep it clutter-free and organized.
- Customize Notification Settings
Every app on your iOS device comes with its own notification settings. Customize these settings to fit your preferences:
App-Specific Settings: Go to the settings of individual apps and adjust notification preferences. You can disable or enable notifications, choose alert styles, and even set unique sounds and vibrations for each app.
Deliver Quietly: If you want notifications from a specific app to be less intrusive, you can enable “Deliver Quietly.” This means notifications will bypass the lock screen and won’t make noise or vibrate.
Temporary Mute: If you need some peace and quiet for a short period, iOS lets you temporarily mute all notifications by enabling “Silence” from the Control Center.
- Tame App Badges
App badges can be both useful and distracting. Take control of them by:
Prioritize Badge Alerts: Configure your apps to display badge alerts only for critical notifications. This ensures you’re not overwhelmed by a sea of red circles.
Clear Badges: Regularly clear app badges by addressing the associated notifications. An empty home screen can reduce visual clutter and help you stay organized.
- Utilize Notification Grouping
iOS’s notification grouping feature can help you keep a tidy Notification Center:
Group Management: Use the grouping feature to quickly access and manage multiple notifications from the same app or topic. You can expand or collapse these groups based on your needs.
- Set Up Emergency Bypass
iOS offers an “Emergency Bypass” feature for specific contacts. If there are individuals whose messages you don’t want to miss, even during “Do Not Disturb” mode, you can enable this feature for them. - Manage App Notifications Wisely
When installing new apps, take a moment to review their notification settings. Ensure that the app’s notifications align with your priorities and preferences. Remember, you have the power to turn off notifications for any app that’s causing unnecessary interruptions. - Review Notification Settings Regularly
Your notification needs may change over time. A good practice is to revisit your notification settings regularly and make adjustments as needed. This ensures that your notifications continue to serve your evolving requirements. - Find Your Balance
Ultimately, managing notifications on iOS is all about finding the right balance. You want to stay informed and connected, but not at the cost of your peace and productivity. Experiment with different settings and strategies to discover what works best for you.
Conclusion
In today’s digital age, managing notifications on iOS devices is a skill worth mastering. With the right strategies and settings in place, you can enjoy the benefits of staying informed without feeling overwhelmed. iOS provides a plethora of customization options, so take the time to tailor your notifications to your unique needs and preferences.
Remember, the goal is to maintain a healthy balance between staying connected and staying organized. By implementing the strategies outlined in this guide, you can take control of your iOS notifications and ensure they work for you, not against you. So, go ahead, customize your notifications, and reclaim your peace of mind in the digital world.


